

Table of contents
- Scenario:
- Problems:
- Solution:
- Tools:
- Steps:
- Workflow:
- Step-1 Dockerhub Setup:
- Step-2 Setup Docker Engine:
- Step-3 Clone Repo:
- Step-4 Create Repo in Dockerhub:
- Step-5 Dockerfile of App Image [TOMCAT]:
- Step-6 Dockerfile for DB (MYSQL)
- Step-7 Dockerfile for Web Image [NGINX]
- Step-8 Building Image:
- Step-9 Create a Docker-compose file:
- Step-10 Now put your instance ip and try to access it:
Scenario:
👉 You have a multi-tier application stack or many services in an application stack that you manage as an operations or DevOps team.
👉 These services are running on VMs, which could be in a VMware environment, on EC2 instances in the AWS cloud, or on physical machines in your own data centre.
👉 You're running these services on operating systems, and as today's trend, continuous deployment is needed for any changes, including many changes in today's time.
👉 Continuous deployment is necessary for conditionally and continuously deploying changes.
👉 However, there are problems with this scenario.
Problems:
💰 Setting up a multi-tier application stack can be expensive, whether you're procuring resources or using a cloud platform with regular operational expenses and bills.
💸 Resource wastage is a common issue, as it's often difficult to determine whether all resources are being utilized fully over the course of a year. This wastage can be very costly.
🤖 Deployments are prone to human error, which can be mitigated by automation. However, when working with different environments such as dev, QA, staging, and production, versions can become out of sync, which can be particularly challenging when working with microservice architecture.
💻 Microservice architecture requires multiple sub-stacks within a stack, which can lead to even greater expense when relying on virtual machines. This architecture can also cause resource wastage as not all resources will be utilized.
🔀 Environments that are out of sync can cause issues with portability. For instance, an application that works on dev may fail in the QA environment, and an application that works on QA may fail in production.
Solution:
📦 Containers are an excellent solution for saving money as they use fewer resources than traditional approaches. This is because they don't require an operating system, which makes them especially well-suited for microservice architecture.
💰 With containers, you don't have to spend a lot of money, and continuous deployments can be done via images. By packaging your images with all the necessary dependencies, binaries, and libraries, you can ensure that they work in all environments.
🌍 This is because you'll have the same container image across all your environments, making your stack reusable and repeatable. This allows you to quickly replicate your stack from production to QA to production, saving you time and effort.
📊 Statistics show that containerization can result in significant savings. For instance, studies have found that containerized applications can be up to 5 times more efficient than traditional approaches, leading to lower costs and higher performance.
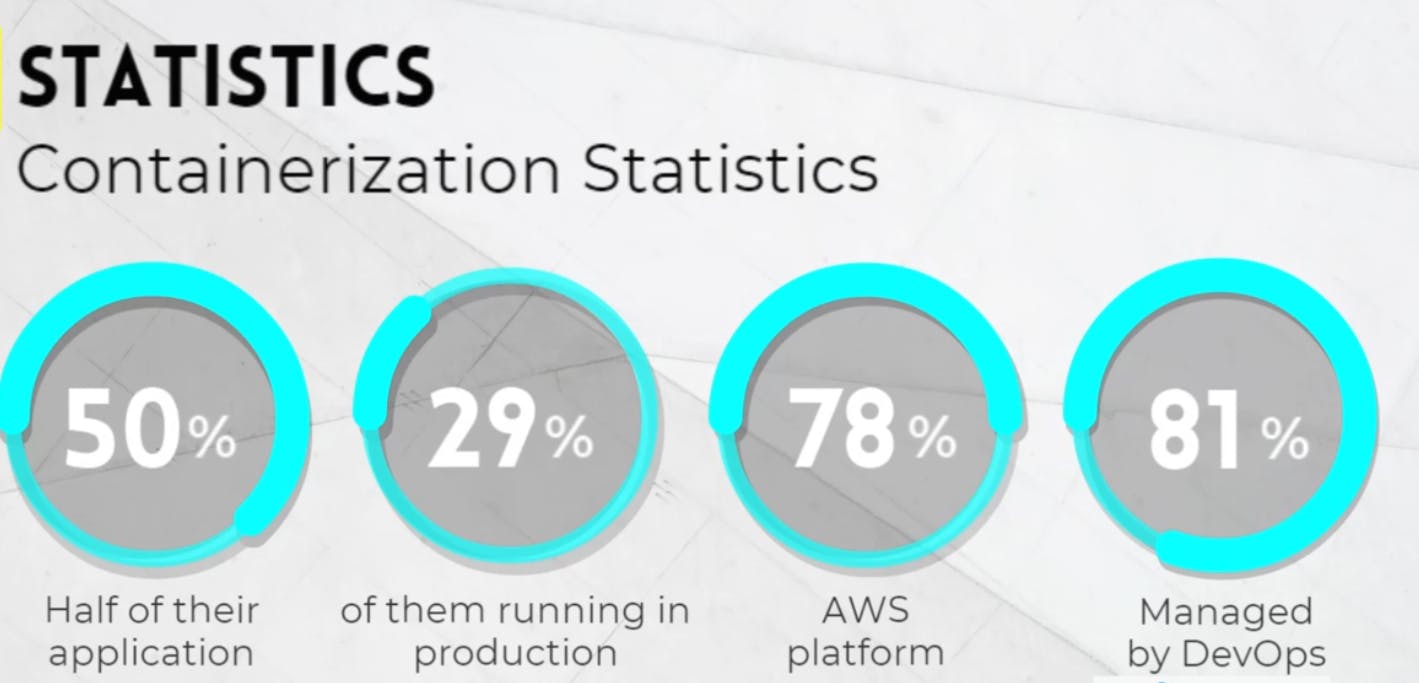
📊 Statistics show that containerization is becoming increasingly popular, with 50% of IT organizations having already containerized half of their applications. Of those, 29% are running containers in production.
☁️ Among heavy cloud users, 78% are using AWS to run their containers. Meanwhile, 81% of organizations assume that if you are using Docker, you are also managing containers.
👨💻 As a DevOps professional, these statistics have a direct impact on us. So, let's take a look at the tools we'll need to containerize our application.
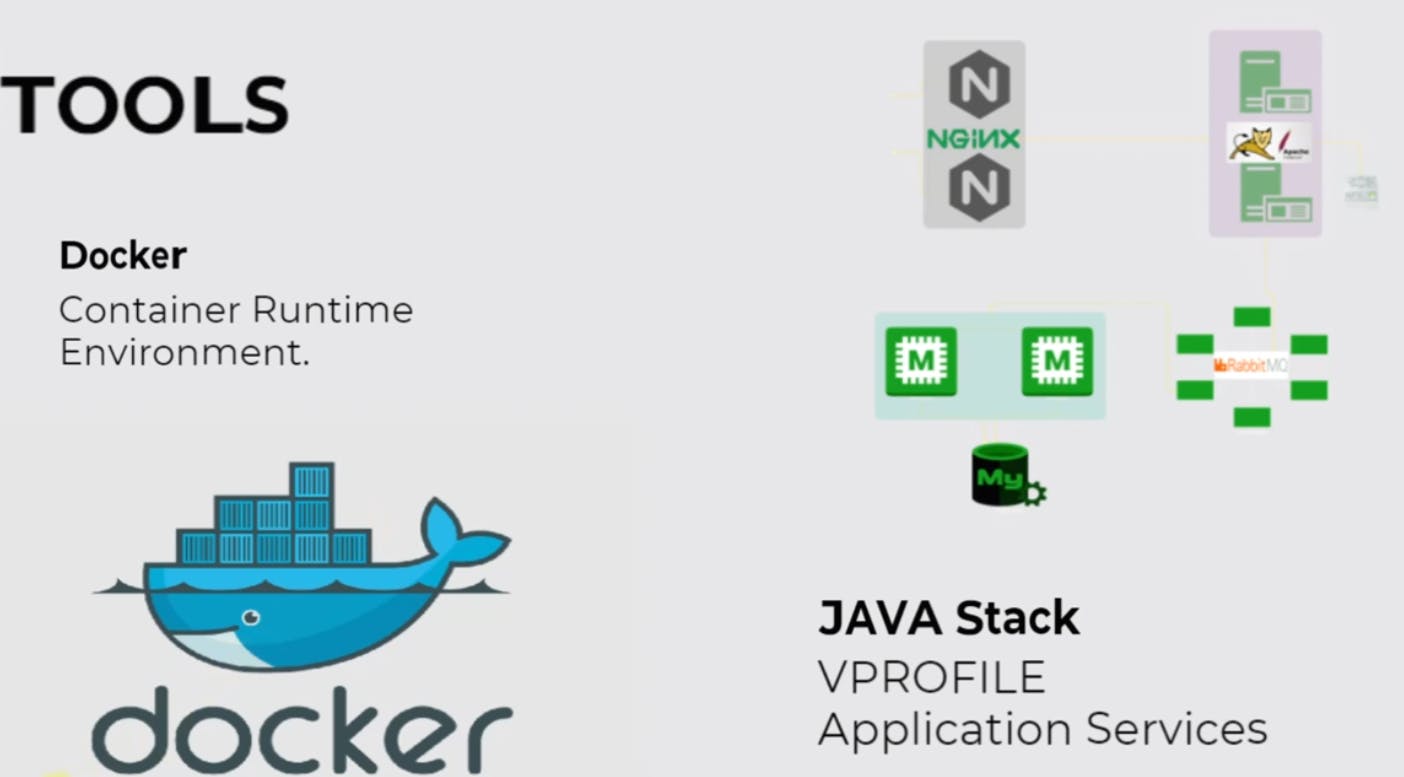
Tools:
🐳 Docker: container runtime environment
🐳 Docker Compose: a tool to define and run multi-container Docker applications
🚀 Docker Hub: registry to store and manage Docker images
🌐 Nginx: an open-source web server for reverse proxy and load balancing
☕ Tomcat: web server and servlet container for Java-based web applications
🗄️ MySQL: open-source relational database management system
💾 Memcached: distributed memory caching system
🐇 RabbitMQ: open-source message broker software
Steps:
Identify Services: 📝🔍 Identify the services used in the V profile application stack:
NginX,Tomcat,MySQL,Memcached,RabbitMQ.Find Base Images: 🔍🐳 Find the right base images for each service on Docker Hub.
Write Dockerfile: 📝🐳 Write a Dockerfile for each service that needs customization, such as deploying artefacts or adding custom configurations.
Build Images: 🛠️🐳 Build the Docker images for all the services using their respective Dockerfiles.
Compose Containers: 🚀🐳 Compose a multi-container environment using a
docker-composefile that launches all the containers together from the built images.Test Containers: 🧪🐳 Test the containers to ensure everything works as expected.
Push to Docker Hub: 📤🐳 Host the images on Docker Hub by pushing them to a public or private repository.
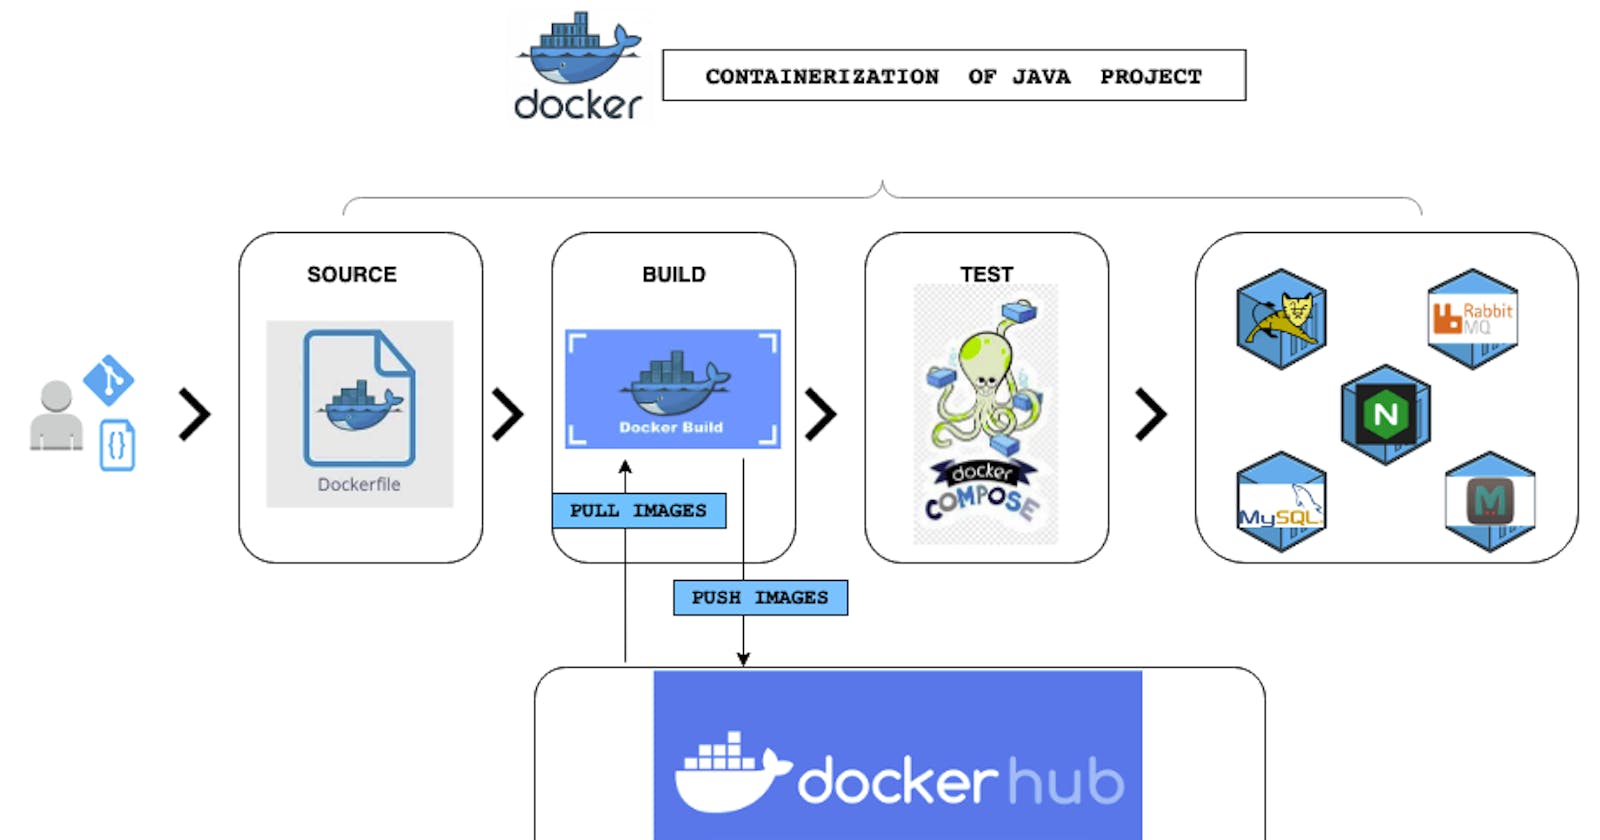
Workflow:
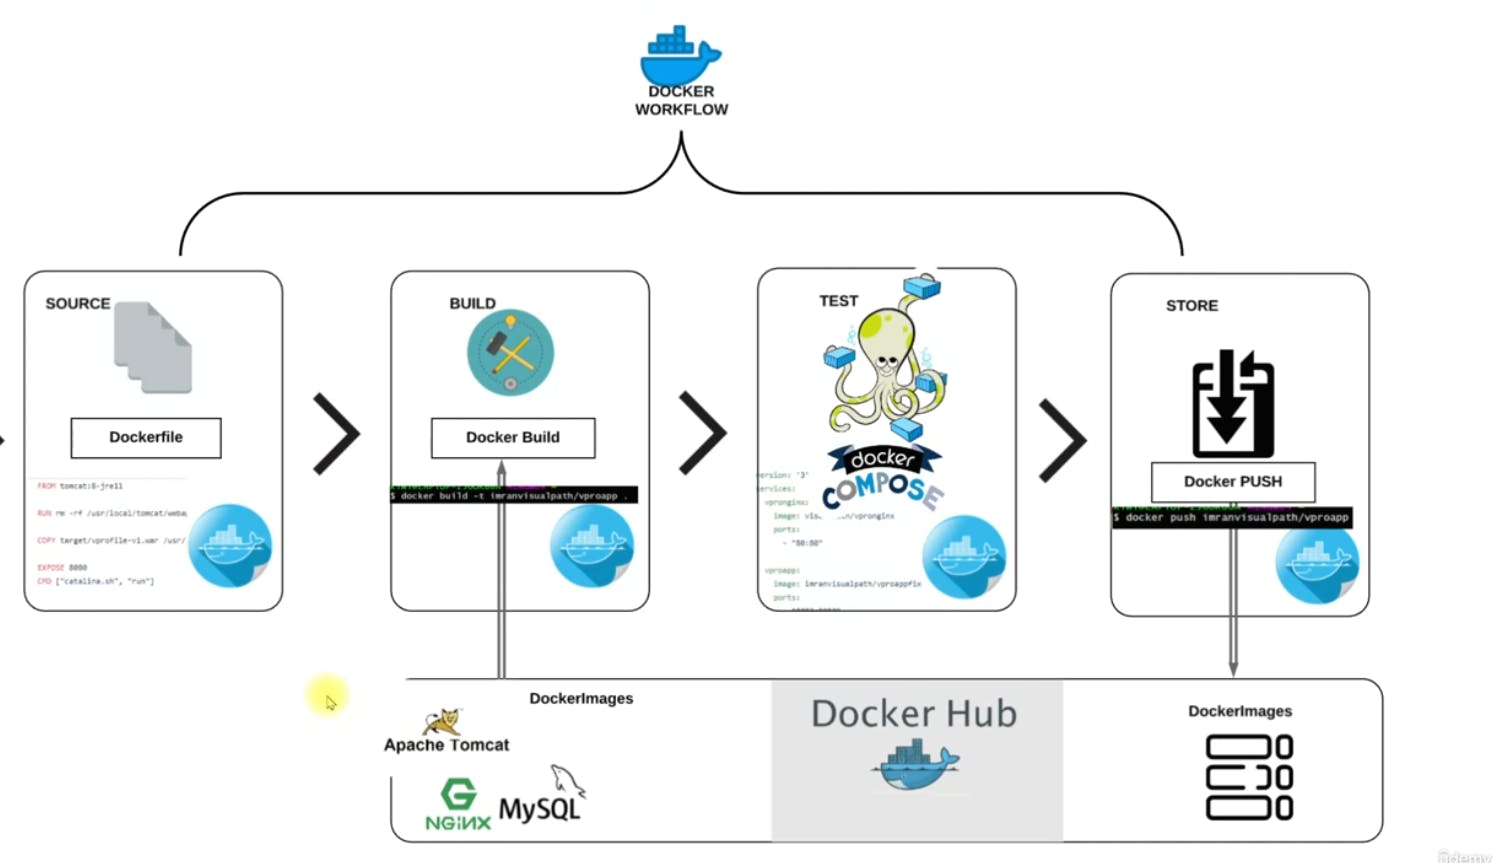
Step-1 Dockerhub Setup:
login to your Dockerhub Account:
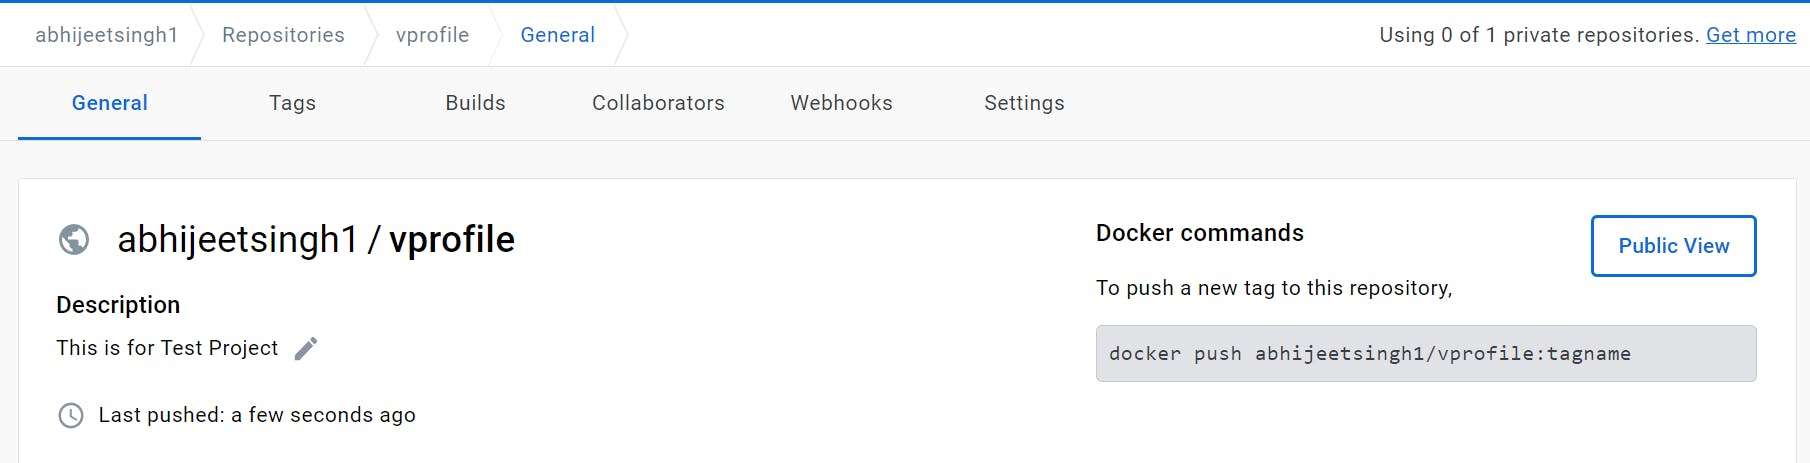
Create a Repository here:
Step-2 Setup Docker Engine:
Set up the repository
Update the
aptpackage index and install packages to allowaptto use a repository over HTTPS:sudo apt-get update sudo apt-get install ca-certificates curl gnupg curl -fsSL https://download.docker.com/linux/ubuntu/gpg | sudo gpg --dearmor -o /usr/share/keyrings/docker-archive-keyring.gpgAdd Docker’s official GPG key:
sudo install -m 0755 -d /etc/apt/keyrings
curl -fsSL https://download.docker.com/linux/ubuntu/gpg | sudo gpg --dearmor -o /etc/apt/keyrings/docker.gpg
sudo chmod a+r /etc/apt/keyrings/docker.gpg
- Use the following command to set up the repository:
echo \
  "deb [arch="$(dpkg --print-architecture)" signed-by=/etc/apt/keyrings/docker.gpg] https://download.docker.com/linux/ubuntu \
  "$(. /etc/os-release && echo "$VERSION_CODENAME")" stable" | \
  sudo tee /etc/apt/sources.list.d/docker.list > /dev/null
Install Docker Engine
Update the
aptpackage index:sudo apt-get updateInstall Docker Engine, containerd, and Docker Compose.
Latest
Specific version
To install the latest version, run:
sudo apt-get install docker-ce docker-ce-cli containerd.io docker-buildx-plugin docker-compose-plugin
Verify that the Docker Engine installation is successful by running the
hello-worldimage.$ sudo docker run hello-worldThis command downloads a test image and runs it in a container. When the container runs, it prints a confirmation message and exits.

Step-3 Clone Repo:
git clone https://github.com/devopshydclub/vprofile-project.git
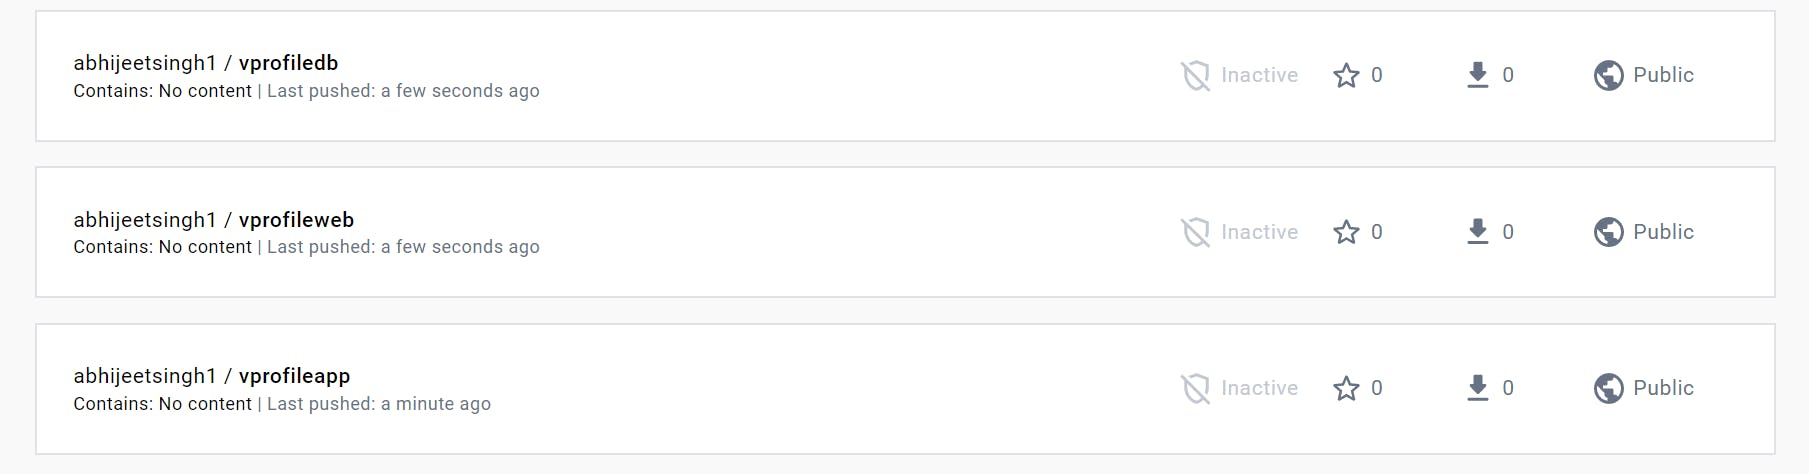
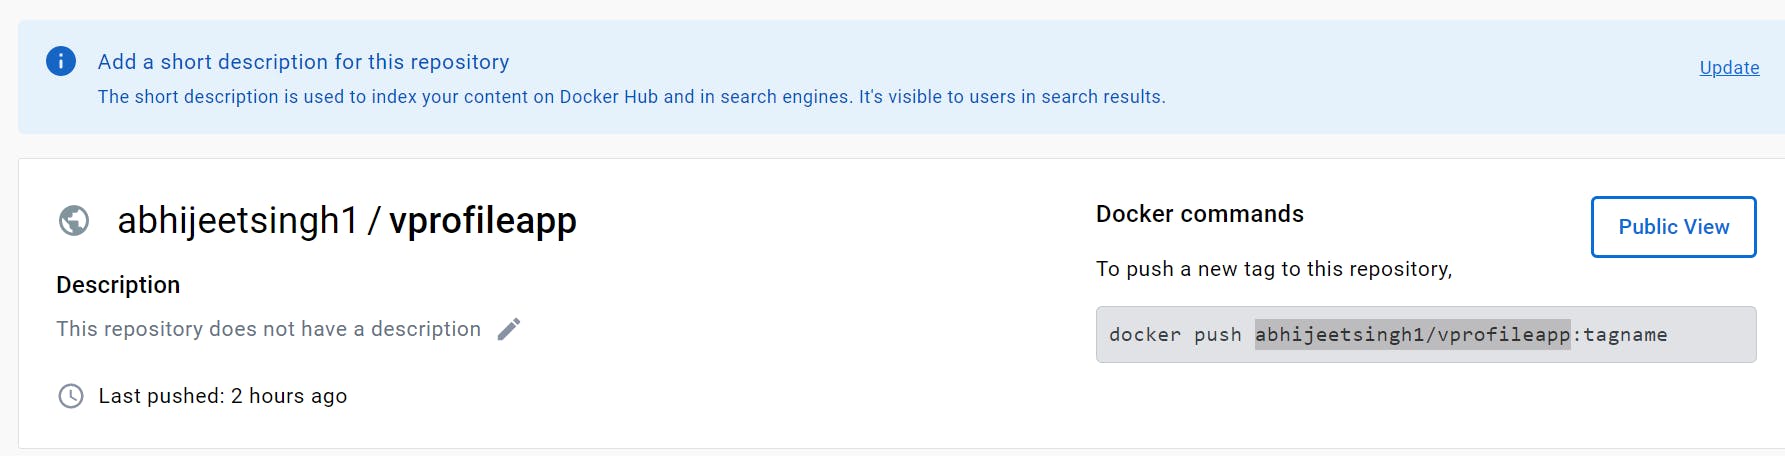
Step-4 Create Repo in Dockerhub:
Like that, we'll build two more repositories or we'll create two more repositories. Create a Repository It's a vprofileweb where host Ngicreate and one more for MySQL that is vprofiledb.
Step-5 Dockerfile of App Image [TOMCAT]:
Write a Dockerfile for the App Image.
 FROM tomcat:8-jre11
LABEL "Project"="Vprofile"
LABEL "Author"="abhijeet"
RUN rm -rf /usr/local/tomcat/webapps/*
COPY target/vprofile-v2.war /usr/local/tomcat/webapps/ROOT.war
EXPOSE 8080
CMD ["catalina.sh", "run"]
WORKDIR /usr/local/tomcat/
VOLUME /usr/local/tomcat/webapps
Step-6 Dockerfile for DB (MYSQL)
First, copy the db file to a place where we want to write our docker file for db
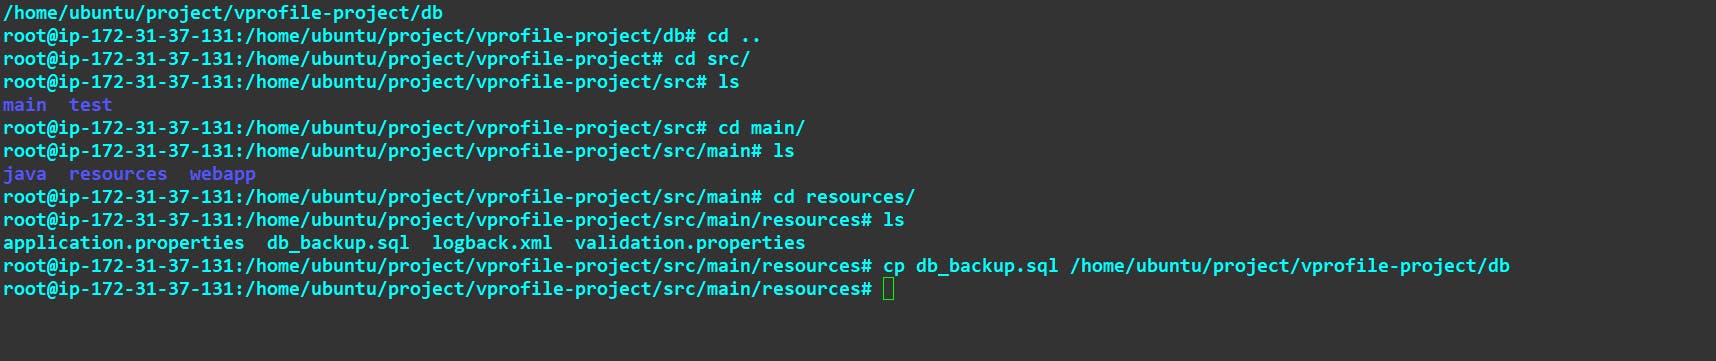
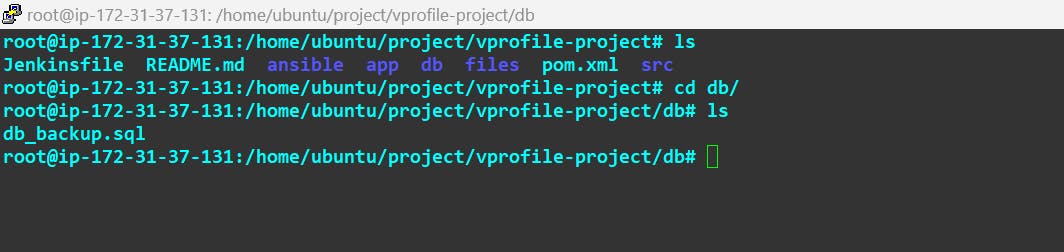
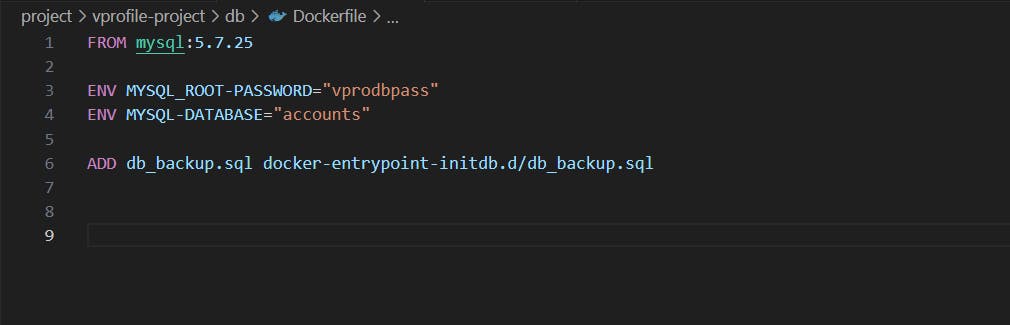
Now Write a Dockerfile for MySql:
Here, we are using the base image from Docker Hub with version 5.7.25. We are also adding two labels to identify the project and author of this image.
Next, we are setting environment variables for the root password and the database name. Then, we are adding a SQL backup file to the container which will be executed during the initialization of the MySQL container.
FROM mysql:5.7.25
LABEL "Project"="Vprofile"
LABEL "Author"="abhijeet"
ENV MYSQL_ROOT_PASSWORD="vprodbpass"
ENV MYSQL_DATABASE="accounts"
ADD db_backup.sql /docker-entrypoint-initdb.d/db_backup.sql
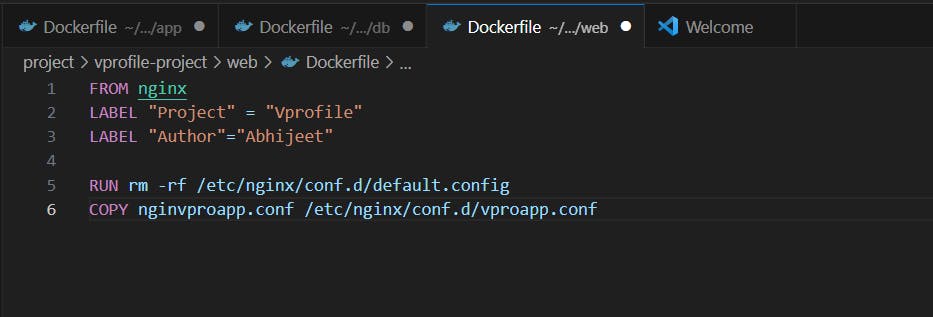
Step-7 Dockerfile for Web Image [NGINX]
 FROM nginx
LABEL "Project"="Vprofile"
LABEL "Author"="Abhijeet"
RUN rm -rf /etc/nginx/conf.d/default.conf
COPY nginxvproapp.conf /etc/nginx/conf.d/vproapp.conf
Also, create a Nginx Block file here with the name nginvproapp. conf :
 upstream vproapp{
  server vproapp:8080;
}
server{
listen 80;
location / {
 proxy_pass http://vproapp;
 }
}

Step-8 Building Image:
Check so we have docker files in every directory plus in the DB directory we have a DB SQL file and in the web directory, we also have the engines configuration file. We have to make sure in the app directory we put our artefact path target vprofile V2. So let's build our artefact.
So be in the directory source code directory where we have the pom.xml file. We need Maven and for Maven we need JDK. So we'll first install JDK. and Maven
sudo apt-get install openjdk-8-jdk -y && apt-get install maven

Now we are going to build our artefact, but before that, we need to feed in the detail of our back-end services. To make sure the application container can connect to back-end services, DB, Memcache, rabbitmq so in the src directory in our source code main. Resources we have application dot properties file.OK so the back-end service name for DB is Wipro DB, so we have to make sure we launch the container with this name on port exposed on port 3306 and it should have a database named accounts username root and password.
/src/main/resources/application.properties

after installation of java and Maven now Build our Artifact:
mvn install

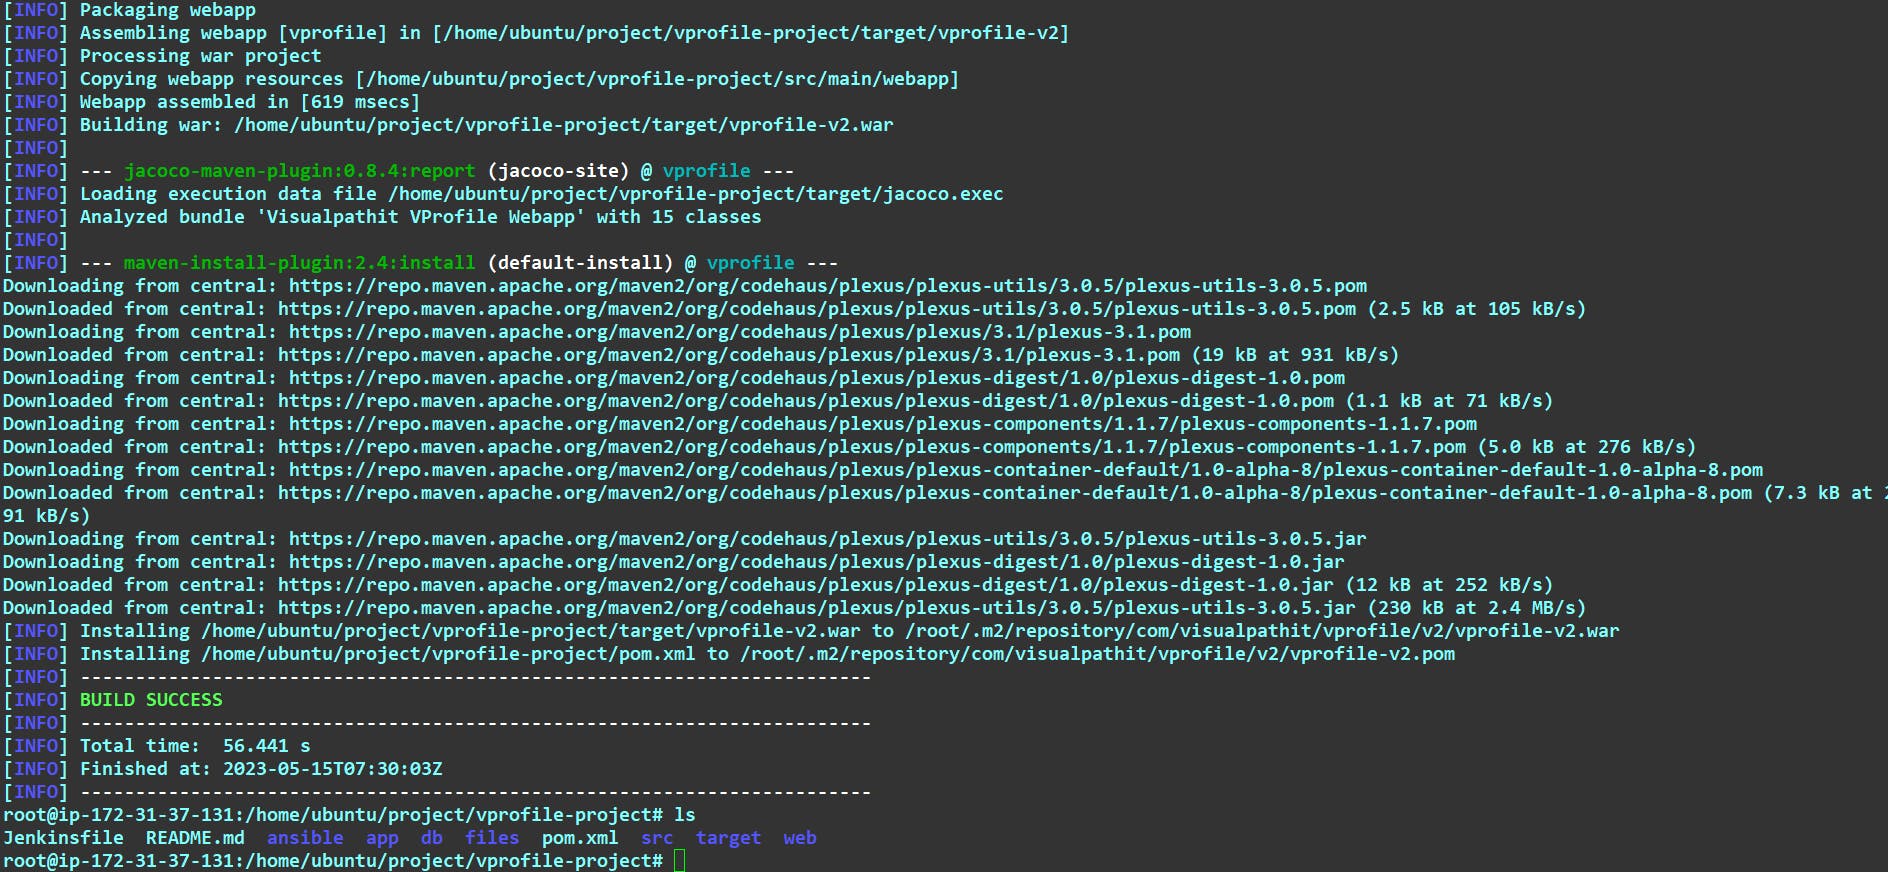
The build is completed, so we should have profile-v2.war in the target folder.

Now copy the target directory to the app directory.
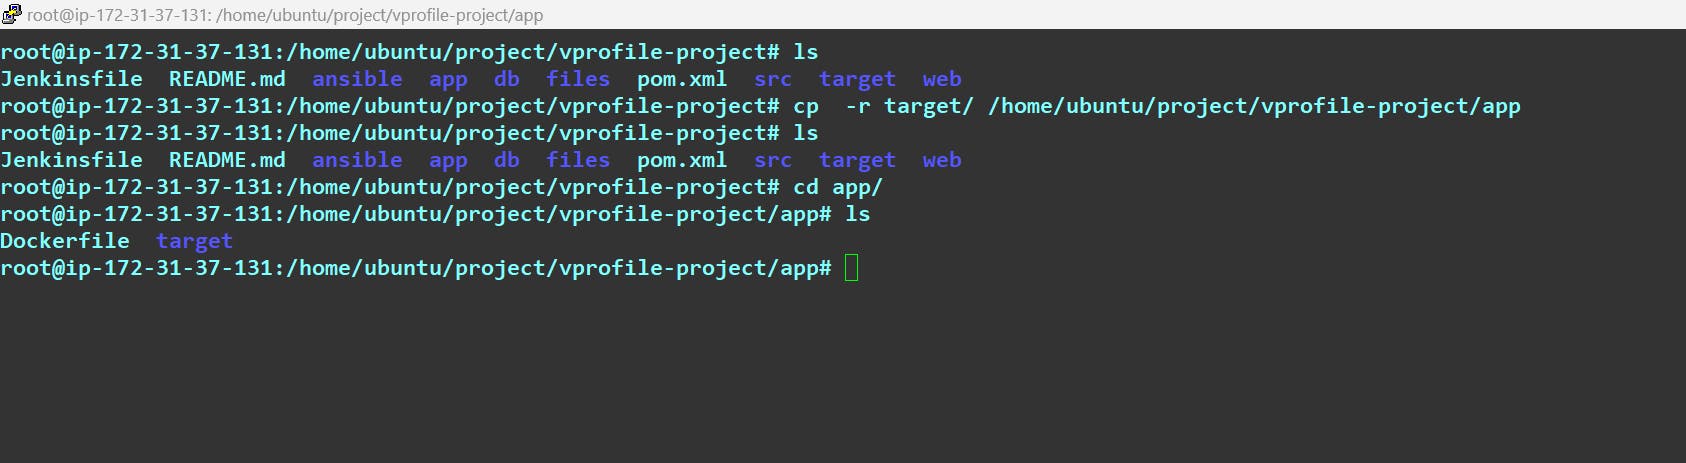
OK, we're all set three docker files are ready with the data. Now we're going to build the images. So let's do it one by one.
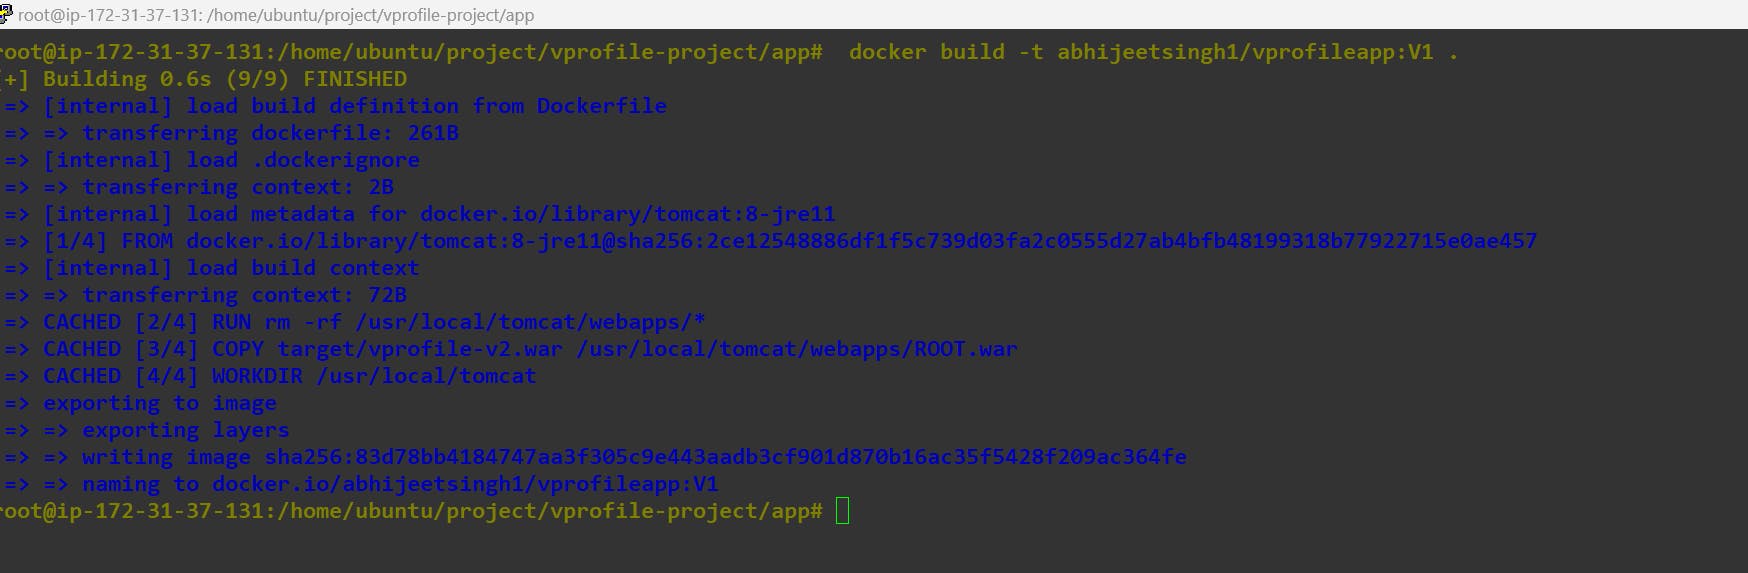
Start with the app directory:
docker build -t abhijeetsingh1/vprofileapp:V1 .
Now Execute it.
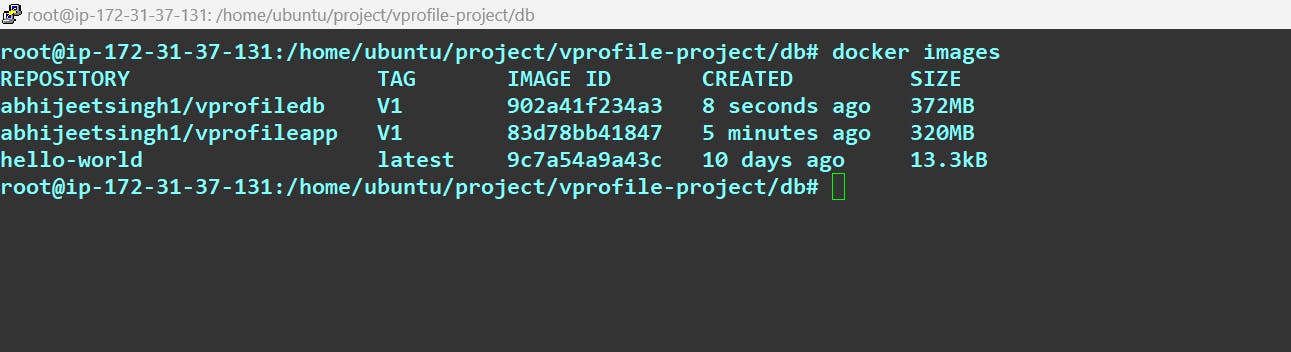
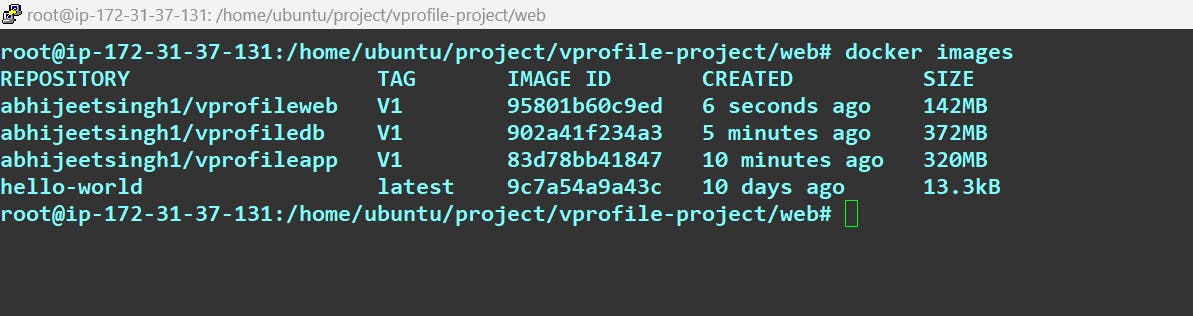
Let's verify it with docker images:

Now build for db.
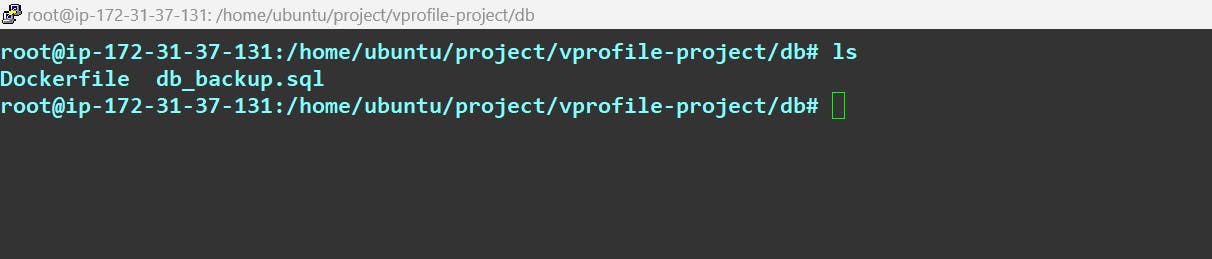
docker build -t abhijeetsingh1/vprofiledb:V1 .

Now build it.
Now at last do the same for the web:
docker build -t abhijeetsingh1/vprofileweb:V1 .

Now build it

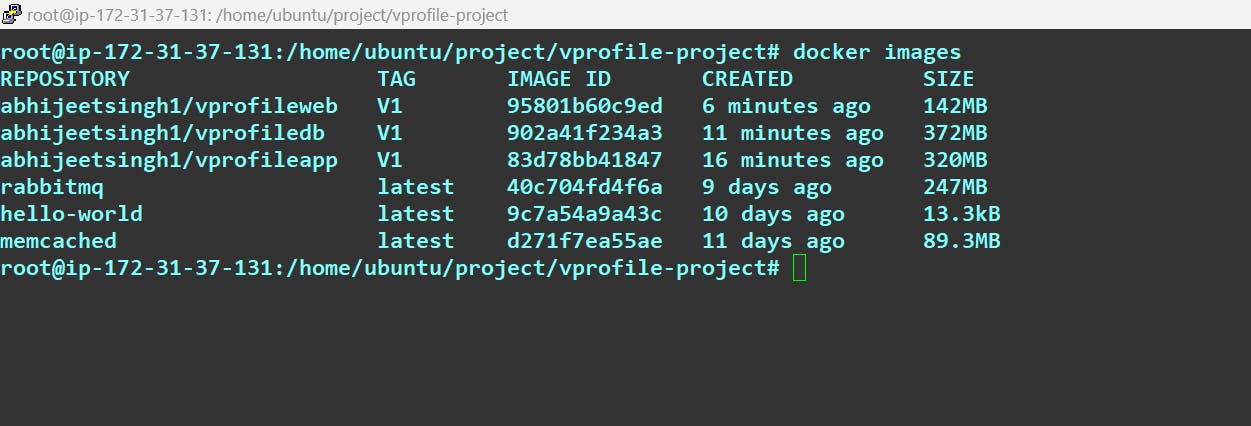
Alright, so we have three images. To be customized we need two more images Rabbit MQ and Memcache. We don't need any customization on that, so we're going to simply pull them.
docker pull memcached
docker pull rabbitmq
Step-9 Create a Docker-compose file:
We'll use Docker Compose to run all these containers and connect them. And for this, we need to install docker-compose.
version: '3'
services:
  vprodb:
    image: abhijeetsingh1/vprofiledb:V1
    container_name: vprodb
    ports:
      - "3306:3306"
    volumes:
      - vprodbdata:/var/lib/mysql
    environment:
      - MYSQL_ROOT_PASSWORD=vprodbpass

  vprocache01:
    image: memcached
    container_name: vprocache01
    ports:
      - "11211:11211"

  vpromq01:
    image: rabbitmq
    container_name: vpromq01
    ports:
      - "15672:15672"
    environment:
      - RABBITMQ_DEFAULT_USER=guest
      - RABBITMQ_DEFAULT_PASS=guest

  vproapp:
    image: abhijeetsingh1/vprofileapp:V1
    container_name: vproapp
    ports:
      - "8080:8080"
    volumes:
      - vproappdata:/usr/local/tomcat/webapps

  vproweb:
    image: abhijeetsingh1/vprofileweb:V1
    container_name: vproweb
    ports:
      - "80:80"

volumes:
  vprodbdata: {}
  vproappdata: {}
Now run it:
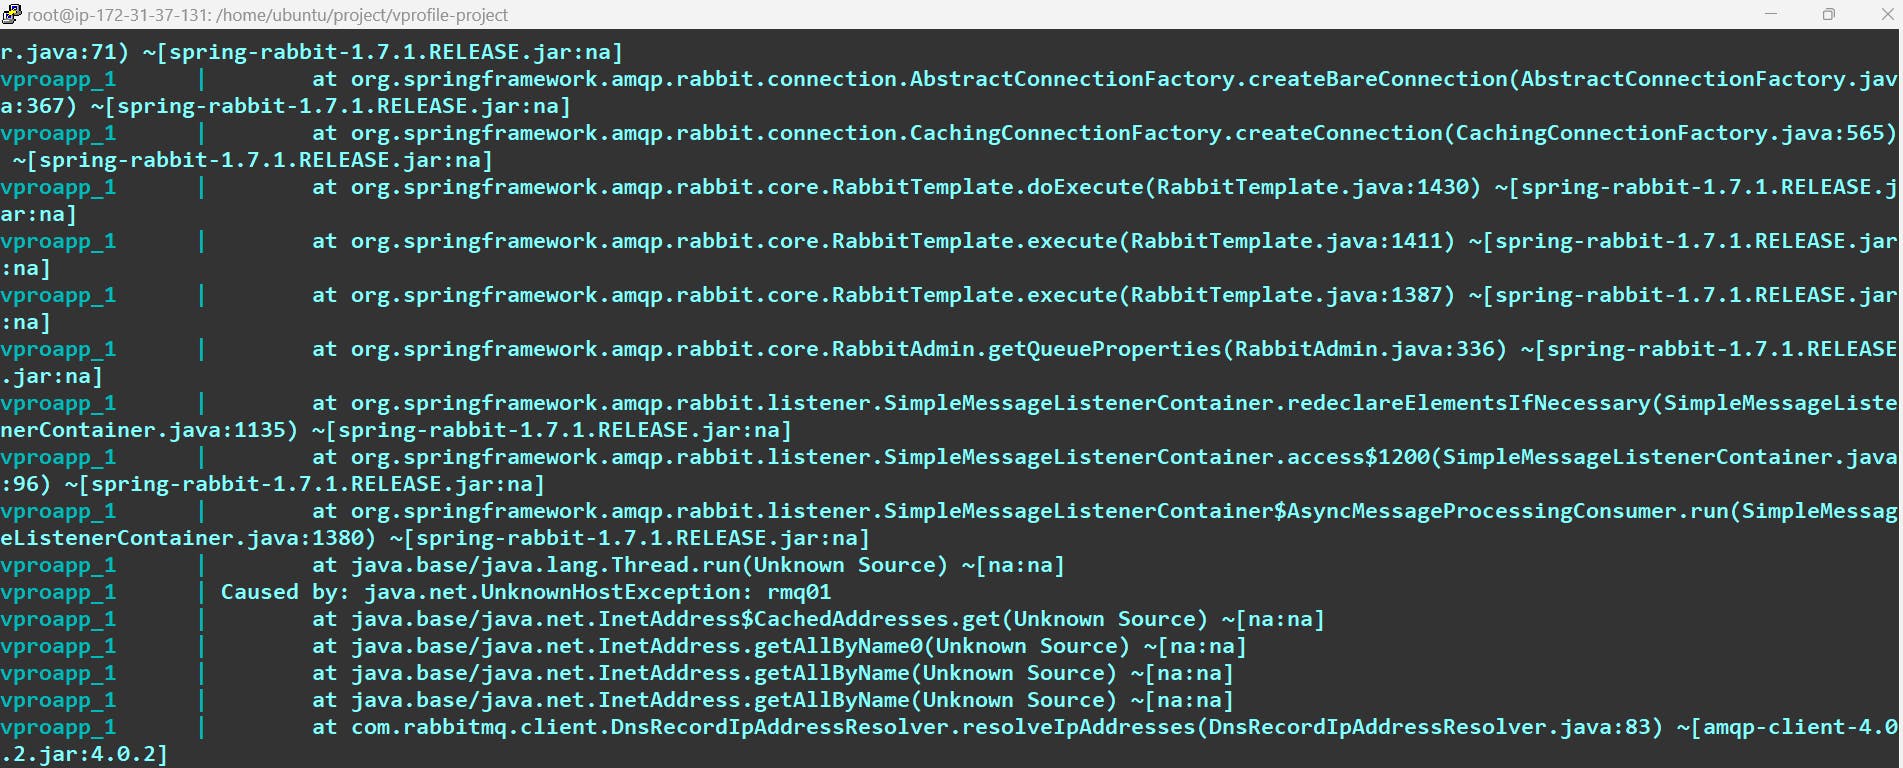
Step-10 Now put your instance ip and try to access it:
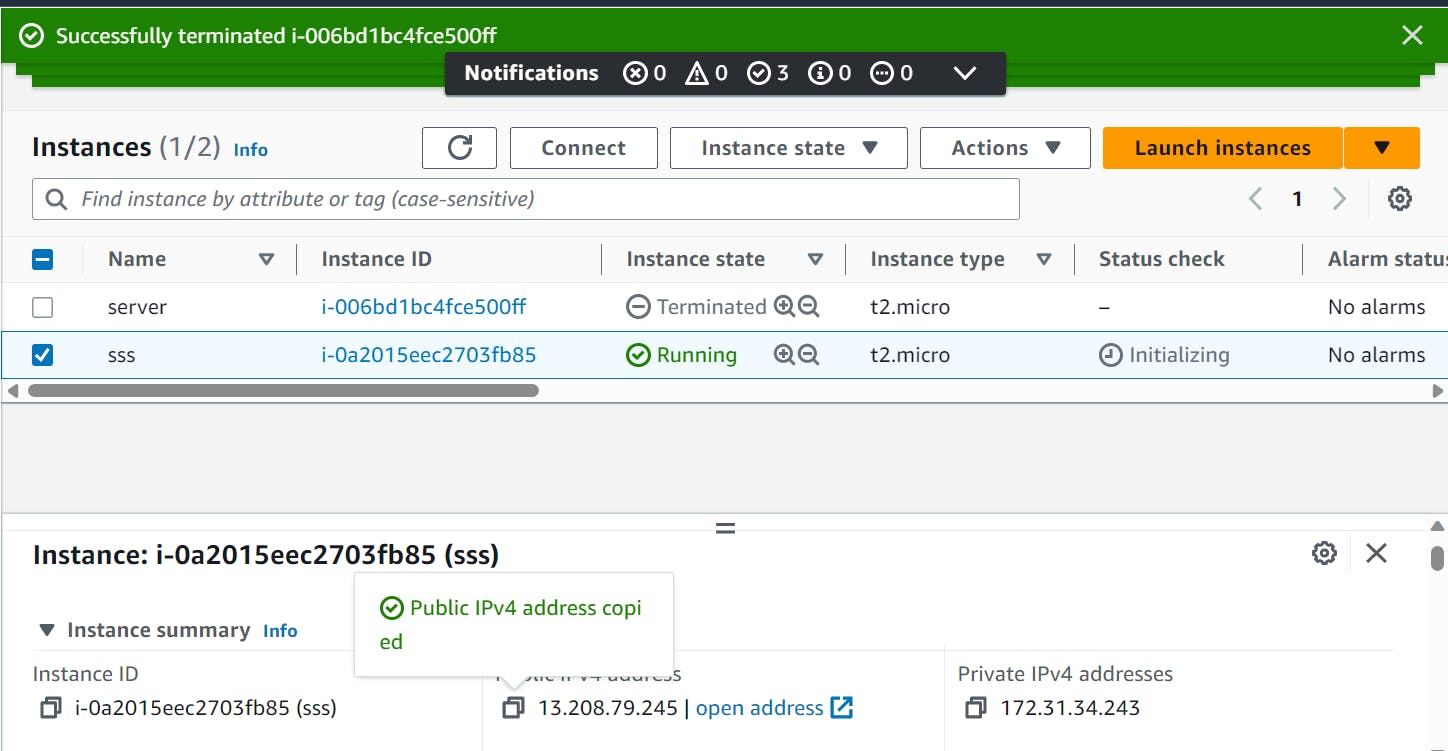

Let's try to log in to check whether it is connected to the database or not :
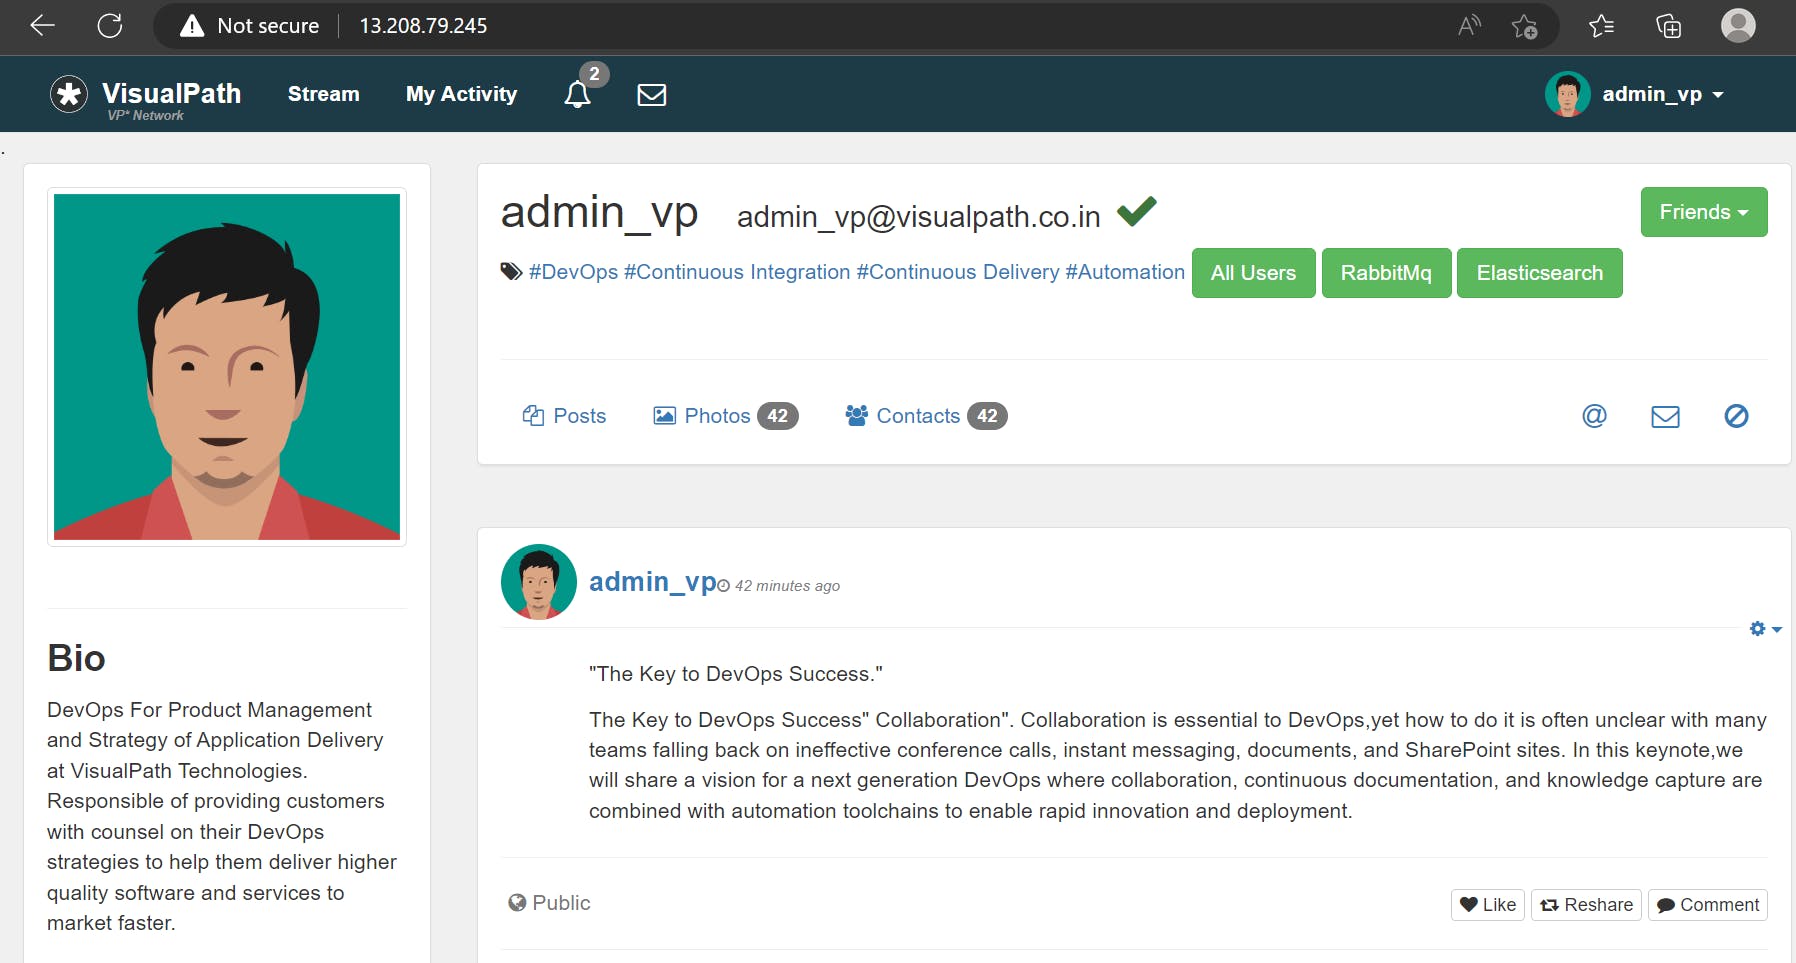
It's working ..............................